

At some point, every entrepreneur building a SaaS product hits the same wall. The Firebase bill arrives, the line items don’t make sense, and the realization sets in that you are paying a platform tax on infrastructure you could be running yourself for a fraction of the cost. Appwrite self-hosted is the most direct answer to that problem available right now Appwrite self-hosted.
Appwrite is an open-source backend platform that ships as a single Docker installation. It covers authentication, databases, file storage, serverless functions, and realtime subscriptions — everything a production application needs from its backend layer. When you self-host it, that entire stack runs on a server you own, with no usage limits, no per-seat pricing, and no vendor between you and your data.
This guide walks through exactly how to get Appwrite self-hosted and running in production, what the setup actually involves, and where founders most commonly run into friction so you can avoid it.
Why Appwrite self-hosted stands out in the open-source BaaS space
The open-source BaaS ecosystem has matured significantly. Platforms like Nhost and Parse Server offer serious alternatives, and the complete guide to open-source BaaS self-hosting: Appwrite, Nhost, and Parse covers how they compare across the board. But Appwrite earns its reputation as the most accessible entry point for a specific reason: the installation experience is genuinely simple.
Most self-hosted infrastructure tools demand comfort with networking configuration, environment variable management, and multi-service orchestration before you see anything working. Appwrite collapses that complexity into a single command that spins up every service — the API server, the database, the storage engine, the cache layer, and the background worker — in one coordinated Docker Compose deployment Appwrite self-hosted.
For a founder who is not a full-time DevOps engineer, that difference is significant. You are not learning a new infrastructure discipline. You are running one command and getting a backend.
What you need before you start
The infrastructure requirements for Appwrite self-hosted are minimal by production standards. A server with 2GB of RAM is the baseline — 4GB is more comfortable if you plan to run serverless functions alongside the core services. A fresh Ubuntu 22.04 VPS from Hetzner, DigitalOcean, or Vultr handles this cleanly.
Docker Engine and Docker Compose are the only software prerequisites. Both install in under five minutes on any Ubuntu server using the official installation script from Docker’s documentation. If you are running this on a local machine for development purposes, Docker Desktop covers both requirements on Mac and Windows Appwrite self-hosted.
A domain name pointed at your server’s IP address is strongly recommended for any production setup. Appwrite’s built-in SSL provisioning — handled through Let’s Encrypt — works automatically once your domain resolves correctly. Running Appwrite over HTTP without SSL is fine for local development, but it is not a configuration you want serving real users.
The full VPS sizing guide — including which server plan matches which traffic tier — is covered in the self-hosted BaaS VPS deployment guide.
Installing Appwrite self-hosted: the actual process
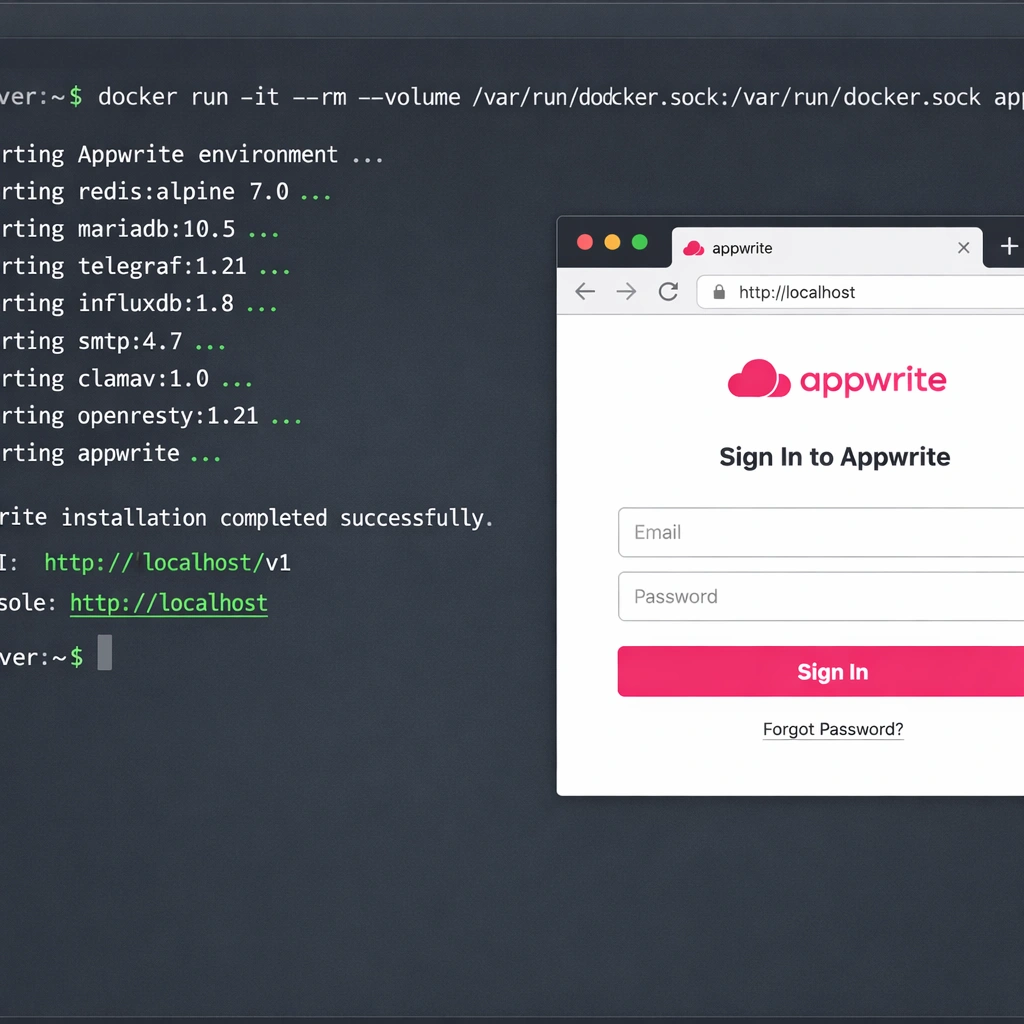
SSH into your server and run the official Appwrite installation command. As of version 1.5, it pulls the Docker Compose configuration directly and launches the full stack:
docker run -it --rm \
    --volume /var/run/docker.sock:/var/run/docker.sock \
    --volume "$(pwd)"/appwrite:/usr/src/code/appwrite:rw \
    --entrypoint="install" \
    appwrite/appwrite:1.5.7
The installer prompts you for four pieces of information: your server’s hostname or IP address, the HTTP port (default 80), the HTTPS port (default 443), and whether you want to enable statistics collection. Answer those prompts, and Appwrite pulls the remaining images and starts every service.
The full installation — image pulls included — takes between three and eight minutes depending on your server’s connection speed. When it finishes, you access the Appwrite console by navigating to your domain or IP in a browser.
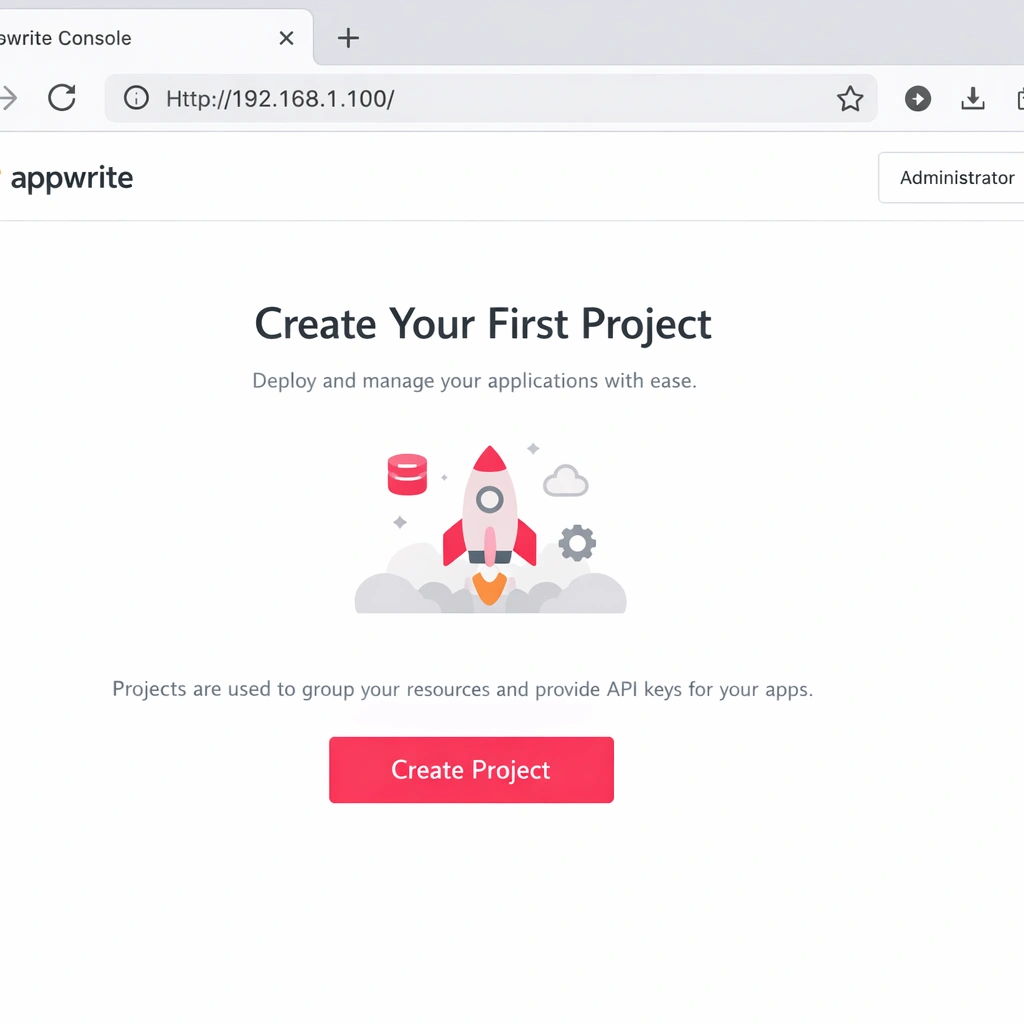
Setting up your first project in the Appwrite console
Once the console loads, you create an administrator account on the first visit. This account is local to your Appwrite instance — there is no external authentication service involved, and your credentials are stored in your own database.
From the console dashboard, you create a project. A project in Appwrite is the organizational container for everything your application needs: database collections, storage buckets, authentication providers, and function deployments. You can run multiple projects on a single Appwrite self-hosted instance, which makes it practical to manage several products or environments — staging and production, for example — from one server.
Configuring authentication
Appwrite self-hosted includes a full authentication system that supports email and password login, magic link email, OAuth providers including Google, GitHub, Apple, and Discord, phone OTP, and anonymous sessions. Each provider activates individually from the Auth section of your project settings.
For OAuth providers, you supply the client ID and secret from the provider’s developer console. Appwrite handles the redirect flow, token exchange, and session management. Your frontend connects to Appwrite’s auth API using one of the official SDKs — available for JavaScript, Flutter, Swift, Kotlin, and several server-side languages.
Creating a database and collections
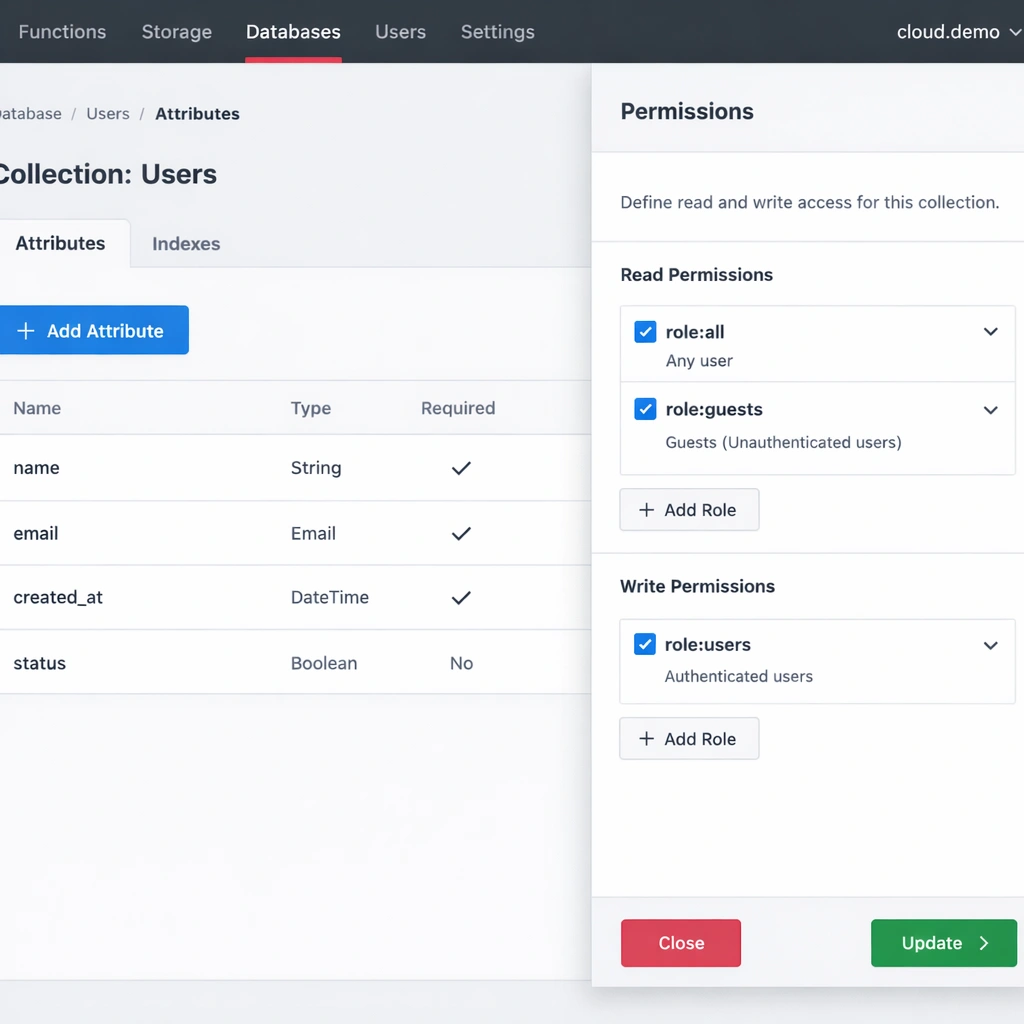
Appwrite’s database layer is built on MariaDB internally, but you interact with it through a document-model API rather than SQL. You define collections — roughly equivalent to tables — and set attributes and permissions from the console or programmatically through the API.
Permission control at the collection and document level is one of Appwrite’s strongest features. You can configure which roles can read, create, update, or delete data, and those rules enforce at the API layer rather than relying on client-side logic. For a SaaS product where users should only access their own data, this is the configuration you set once in the console and trust completely.
Deploying a serverless function
Appwrite Functions runs serverless code in response to events — a new user signs up, a document is created, a scheduled trigger fires. You write the function in Node.js, Python, PHP, Ruby, or Dart, connect it to a Git repository or upload it directly, and Appwrite handles the build and execution environment.
For an entrepreneur building a SaaS product, functions cover the automation layer that managed platforms charge separately for — sending a welcome email when a user registers, triggering a Stripe webhook handler, processing an uploaded file. All of that runs inside your Appwrite self-hosted instance at no additional cost.
Where founders run into friction
The most common issue with Appwrite self-hosted is port conflicts. If your server is already running a web server like Nginx or Apache on ports 80 and 443, Appwrite’s Docker containers will fail to bind to those ports during installation. The fix is either stopping the existing web server before installing Appwrite, or configuring Appwrite to run on alternate ports and proxying traffic through your existing Nginx setup Appwrite self-hosted .
The second most common issue is insufficient memory. Running Appwrite on a 1GB RAM server causes the background worker and the database to compete for resources under any meaningful load. The 2GB minimum is a real requirement, not a conservative recommendation.
SSL certificate provisioning fails when your domain does not yet resolve to your server’s IP address. DNS propagation can take up to 48 hours after you update your records, so it is worth verifying that your domain resolves correctly before running the installer rather than after.
Keeping your Appwrite self-hosted instance current
Appwrite releases updates regularly, and staying current matters for security. The update process involves pulling the new Docker images and restarting the stack — a process that takes under two minutes and causes a brief service interruption.
Before any update, run a database backup. Appwrite stores all project data in a MariaDB database running inside the Docker stack. Exporting that database to a file and uploading it to an S3-compatible bucket — Backblaze B2 costs effectively nothing at small scale — is the backup strategy most self-hosting founders use.
The security hardening steps that go beyond basic updates — firewall configuration, secrets rotation, and access controls — are covered in the open-source BaaS security guide for production self-hosting.
Conclusion
Appwrite self-hosted gives you a complete, production-ready backend on infrastructure you own entirely. The installation is genuinely simple, the feature set covers everything a modern SaaS application needs, and the ongoing maintenance load is manageable for a small team or a solo founder. The monthly cost of a server capable of running it is less than a single seat on most managed backend platforms. For an entrepreneur who wants to build without a growing infrastructure bill compounding in the background, this is the setup worth committing to.